Sharing of mobile data via Wi-Fi hotspot with friends is very easy and simple. But the case of sharing VPN connection over Wi-Fi hotspot has been cumbersome and complicated. That’s why sharing of android VPN connection over WiFi hotspot has never been easy. In recent times, alot of people have tried and wondered how to share their VPN connection over the Wi-Fi hotspot with their friends, partner’s or family, but all attempt proves futile.
Read also: How to connect PPSSPP multiplayer for Android
But the long wait for a solution of this contemporary problem will be over as I will be guiding you on the various steps and guidelines on how to share your Android VPN connection over Wi-Fi hotspot.
Without wasting much time, let’s quickly dive straight to the main business of the day.
For we to achieve this feat, I will be using a simple all in one app, which will enable you to easily share your VPN connection over Wi-Fi hotspot.
With Every Proxy, one can easily share his/her VPN connection easily without stress. Quickly download the app on Google Playstore via this link. (Download Here 1.2MB).
Let’s quickly see how you can share your Android VPN connection over Wi-Fi hotspot with ease and lack of stress
After downloading the app, quickly launch the app and strictly follow the below instructions.
On the Host device, simply launch the app, Toggle on the HTTP/HTTPS button, and also TURN ON your hotspot. On the Connecting device, TURN ON your Wi-Fi and hover to the Wi-Fi settings.
Read also: How to monitor your friends WhatsApp messages
Read this phase of the article carefully as any slight error could hamper you from achieving your objective.
- On the connecting device, after navigating to the Wi-Fi settings, tap on the just discovered hotspot .
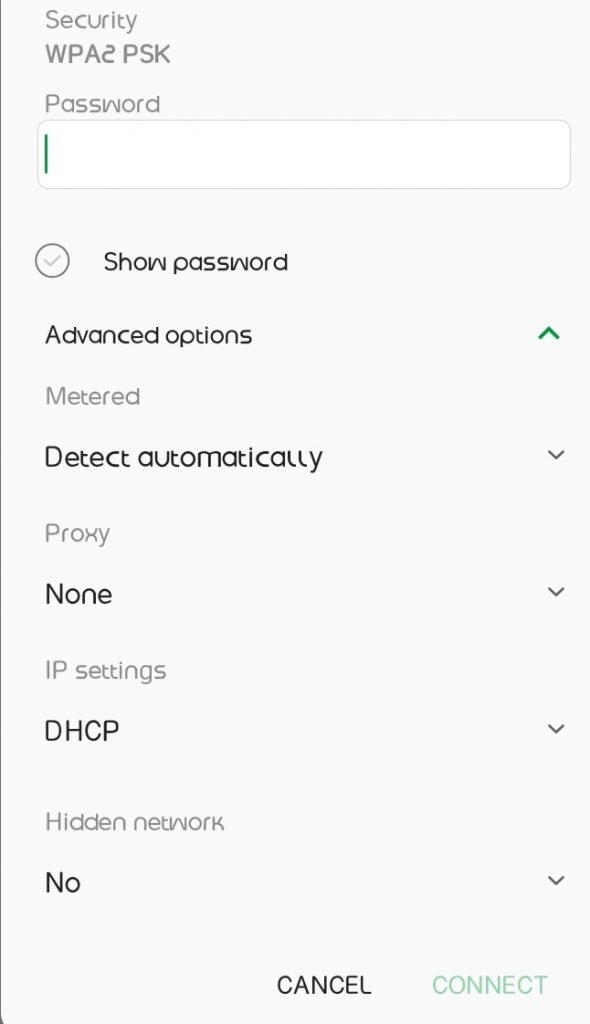
- It will pop up a menu. You will see the Advanced tab. Tap on it. It will open a list if sub-sections.
- On one of the sub-sections you will see Proxy, click the Proxy and change it from None to Manual.
- It will open a menu for you to input the Hostname and Port.
- Now, go back to the Every Proxy app, you will see Host and Port. Each with it’s own digits
- Copy the digits on the Host and paste it on the Hostname, also copy and paste the digits on the Port to the Port in the Manual settings
- After inputting thet digits where specified, Save it and connect. It would connect instantaneously.

If you follow correctly as instructed, it will definitely work out for you. Incase you are still having issues with the connection, kindly drop your comments below for further and swift answer. Enjoy!


![Fat Ninja Game [Unblocked] | Play Online Fat Ninja game](https://nexkinproblog.com/wp-content/uploads/2023/04/Fat-Ninjaa.png)
![Best Spider-Man PSP Games PPSSPP Download For Android [Highly Compressed] Spider-Man PSP games download](https://nexkinproblog.com/wp-content/uploads/2023/04/collage_maker_040923-1408522473087831964795134.jpg)
![How To Flash An Android Device On Your Own in 2023 [Even when locked] How to flash an android device](https://nexkinproblog.com/wp-content/uploads/2023/04/Factory-reset.jpg)