Music or songs on Audiomack are meant to be streamed and if you must download any song on the platform, you are only allowed to play it within the confines of Audiomack. Songs downloaded there cannot be played on your android mp3 player, sent to a friend, or transferred to another device.
But then, if you are still pondering on a way to share any music you download on Audiomack to phone or SD card, then follow this guide carefully as I will be taking you through the steps. Note that this guide is exclusive to android users, if there’s a workaround on ios, I will update that later here. Let’s proceed!
How to Transfer Songs from Audiomack to Phone
I will be discussing this with both text and pictorial illustrations so you can understand the process better. Before we begin, you must first download this archiver application on android called Zarchiver from the Google Playstore. After that, follow the steps below.
But before we begin, if you don’t like reading, you can watch this comprehensive video to get everything.
1: Download song from Audiomack
By now I guess you should be familiar with Audiomack and can download a song. Notwithstanding, if you can’t, simply open the audiomack application and tap on the search icon below. Input any music you want to download and hit enter. The music should be displayed for you. Now tap download and the song will be downloaded.

If you already have a list of downloaded music to extract from audiomack to phone, then start with the second step.
2: Open the Zarchiver app you downloaded
After getting a list of songs to transfer from Audiomack to your device, open the Zarchiver application you downloaded on Google Play. Pay attention to this step!
- Open Zarchiver
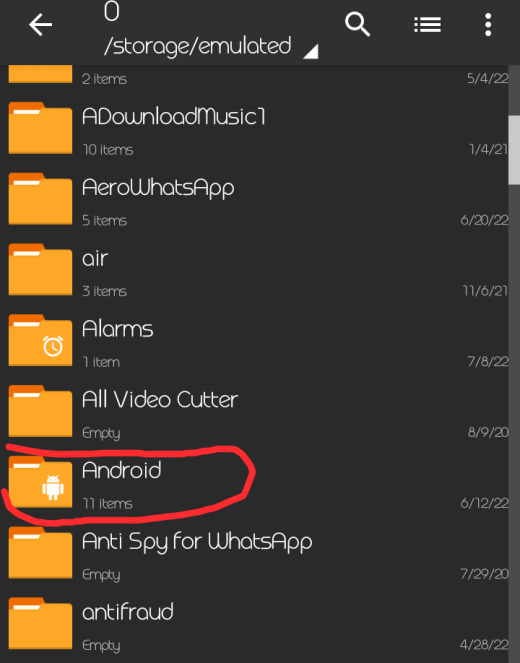
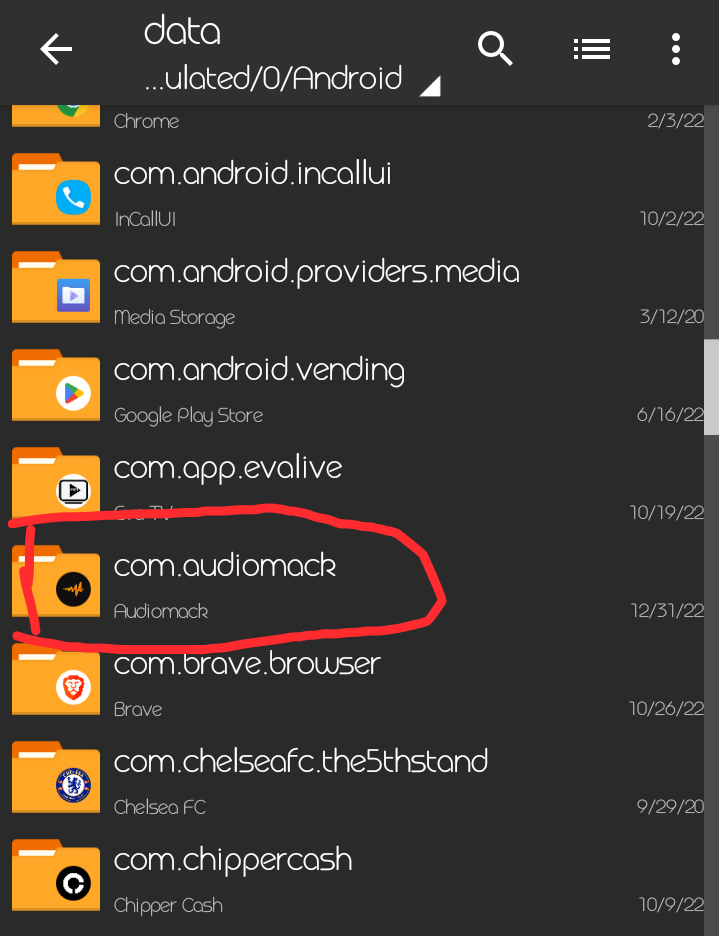
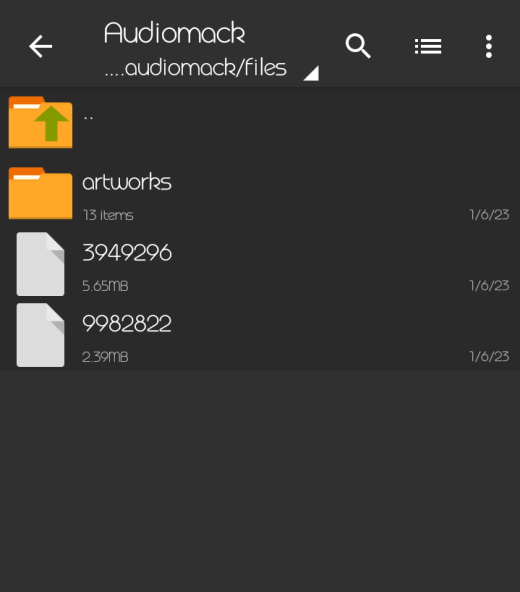
- Now navigate to this path on your device Android / Data / com.audiomack
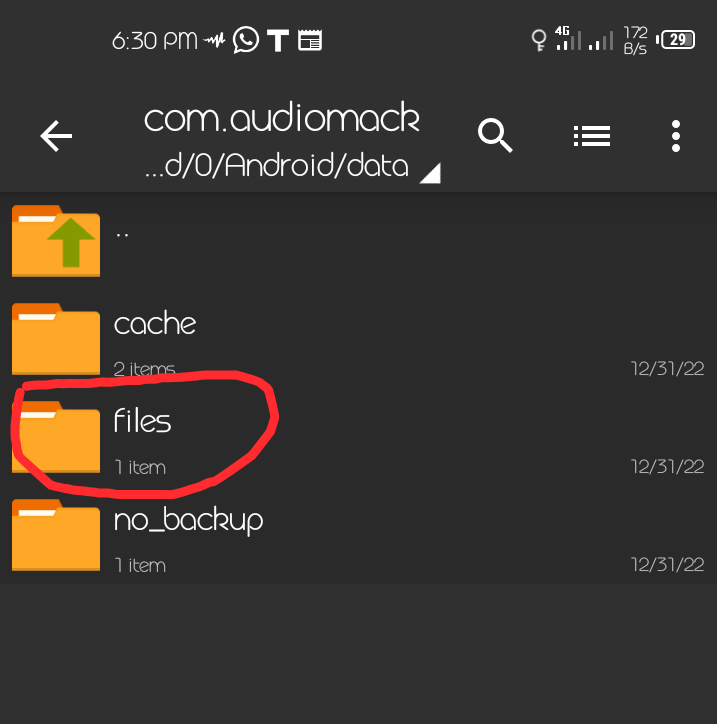
- from the displayed list, click on files, and then Audiomack
There you will find all the music you downloaded from Audiomack named with numbers. Since they are all titled with numbers, it would now be difficult to know the exact music from the others. Because of this, make sure you sort all downloaded music on Audiomack to Oldest. This way, the most recent songs you downloaded will be at the top.
Let’s proceed to the last step.
Rename each file to .mp3
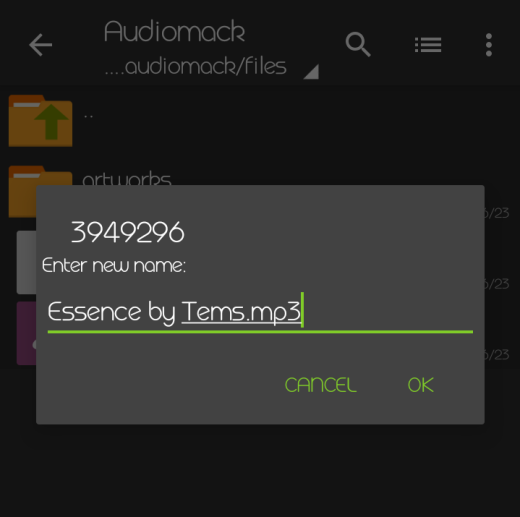
In order to transfer your songs from Audiomack to phone, now rename each file by adding .mp3 as a suffix. I.e, you can rename any music file with the title of the song and singer and then add .mp3. Example; if you find this helpful.
To rename any song, tap and hold the file and a pop-up option will be displayed, then click on rename and then follow the instructions above.
After this, you can now move the song from the audiomack folder to any android folder of your choice which you can then share to any device thereafter.
Final Words
All the basic info you need to transfer any song from audiomack to phone has been relayed to you. If you’re still having any difficulty with the steps, do well to drop a comment for more clarity. Kindly share if you find this helpful.
- How To Change The Name And Icon Of An App On Android
- How To Share Your Android VPN Connection Over Wi-Fi Hotspot
- How To Detect A Fake Or Clone Phone
- How To Track Or Locate Your Lost Android Phone

